This section of the documentation is still under construction. Please contact us if you have any questions.
Contents:
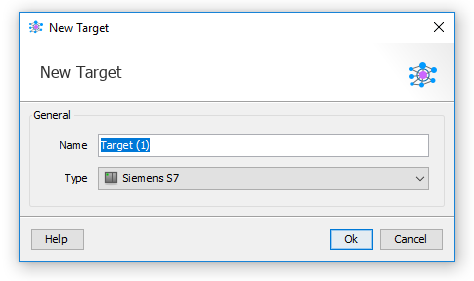
In the navigator right-click on the project and choose ‘Add Target’, next choose ‘Siemens S7’ as the target type and click Ok.
Right-click on connections and choose ‘New Connection’.
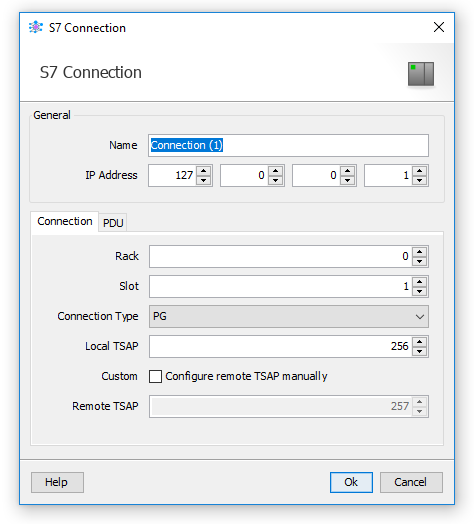
It is possible to add multiple connections to a single S7 target, only one connection can be active simultaniously.
Enter a unique name for the connection.
The ip address of the S7 PLC.
The default value is 0.
For S7-1200 PLC’s the slot should be set to 1
PG, OP, S7 Basic
The default value is 256.
Check this setting to enter a custom Remote TSAP
This value is automotically calculated from the Rack, Slot and Local TSAP settings.
In the navigator right-click on ‘Tag Tables’ and choose ‘New Tag Table’, next double click on the newly created Tag Table to edit it. In the Tag Table editor right click on the Tag Table name and choose ‘Add Memory Area’.
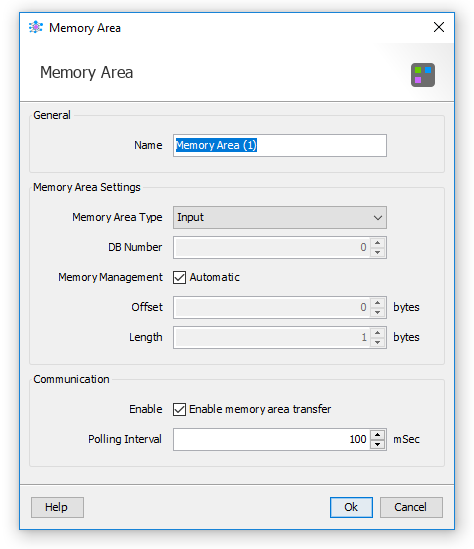
Right-click on a Memory Area and choose ‘Add Tag’
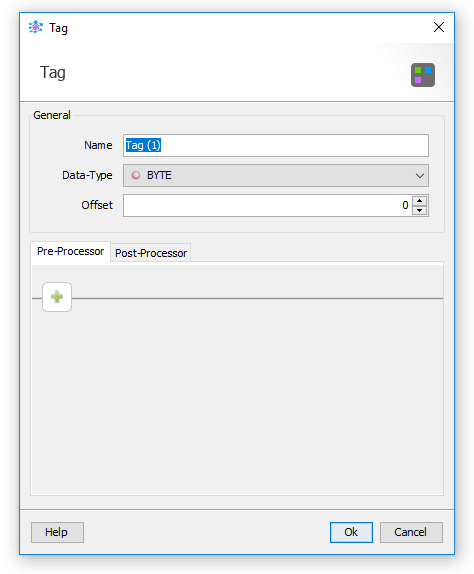
Right-click on a Memory Area and choose ‘Add Tag Range’
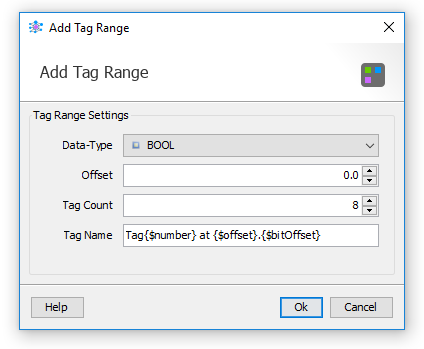
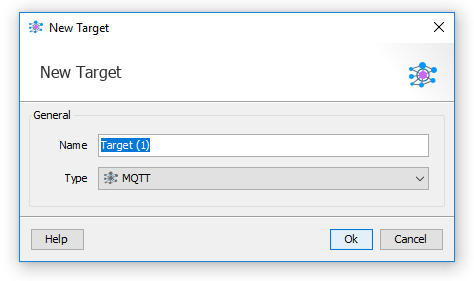
In the navigator right-click on the project and choose ‘Add Target’, next choose ‘MQTT’ as the target type and click Ok.
Right-click on connections and choose ‘New Connection’.
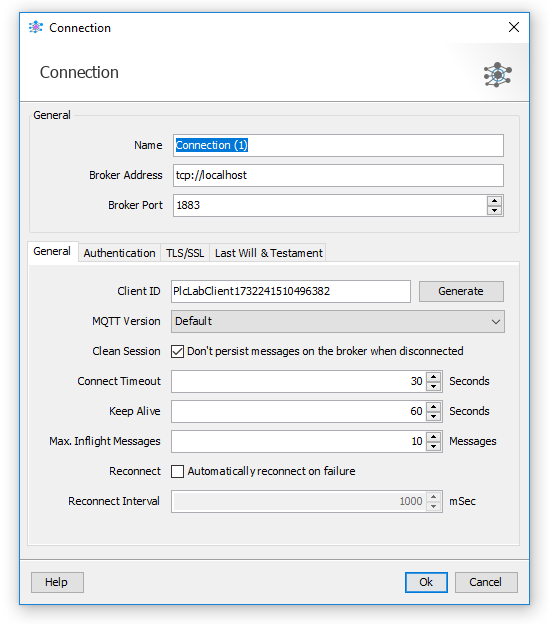
It is possible to add multiple connections to a single MQTT target, only one connection can be active simultaniously.
Enter a unique name for the connection.
The ip address of the MQTT broker.
The port of the MQTT broker.
-
In the navigator double-click on ‘Settings’ and select the ‘Subscribe’ category in the Target Settings dialog.
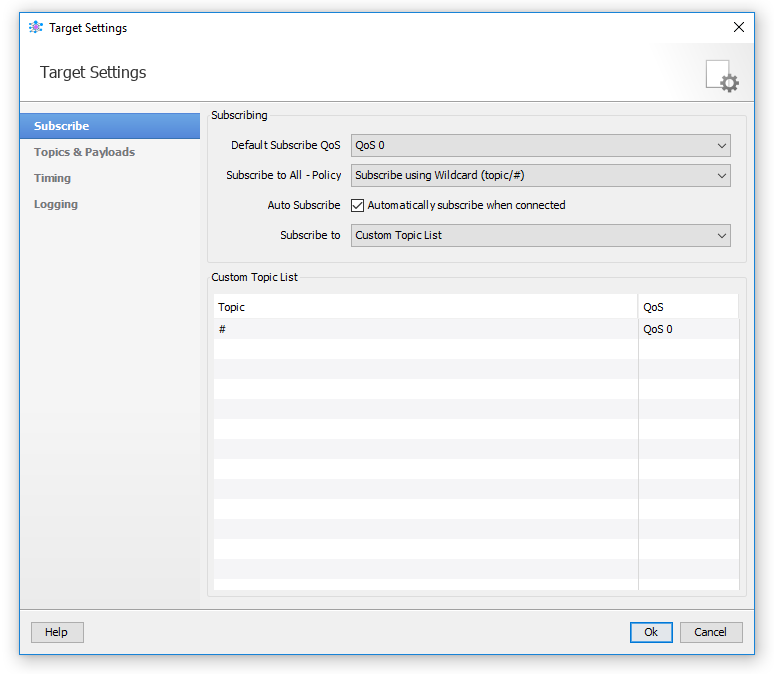
Right-click on a topic and in the context menu choose ‘Subscribe’ or ‘Unsubscribe’. The default Quality of Service for subscribing can be configured in the target settings dialog.
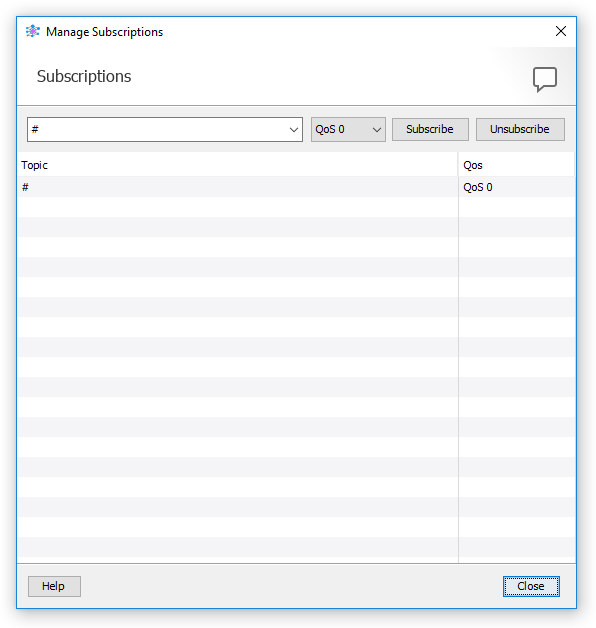
Right-click on a topic and in the context menu choose ‘Manage Subscriptions’. The drop-down box lists all the topics that are known in the project, it is also possible to manually enter a topic in this box.
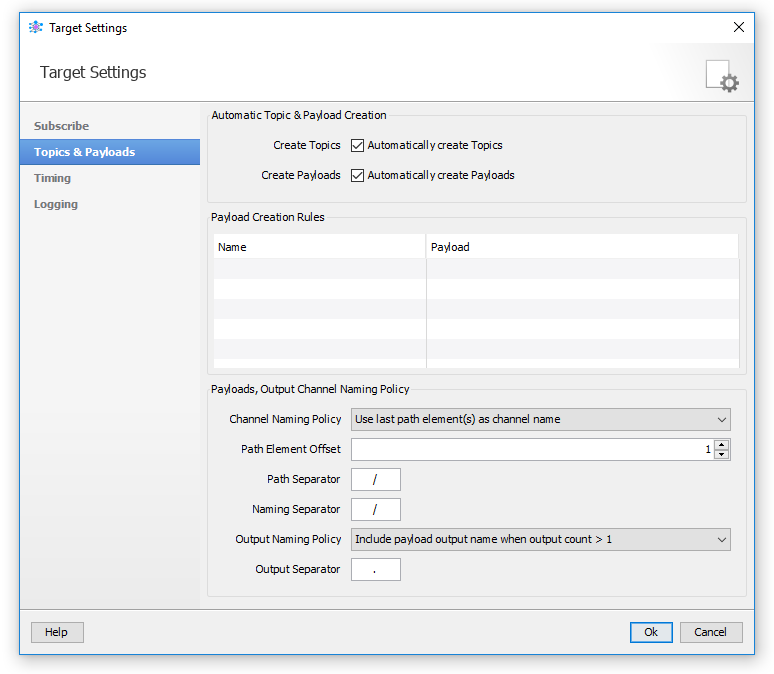
In the navigator double-click on ‘Settings’ and select the ‘Topics & Payloads’ category in the Target Settings dialog.
-
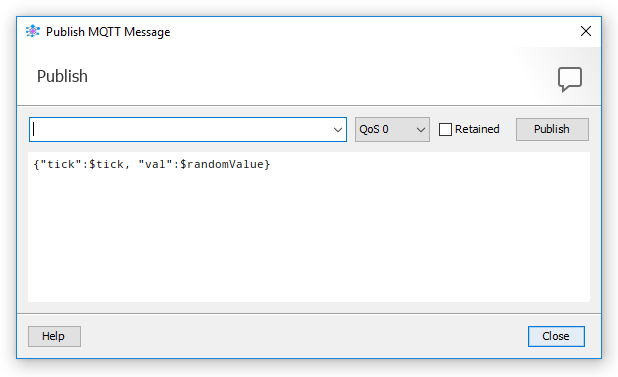
Right-click on a topic and in the context menu choose ‘Publish Message’. The drop-down box lists all the topics that are known in the project, it is also possible to manually enter a topic in this box.
Found a mistake or want to help improve this documentation? Contact us to suggest changes.